Your Complete Guide to a Home Facial and How They Benefit Your Skin
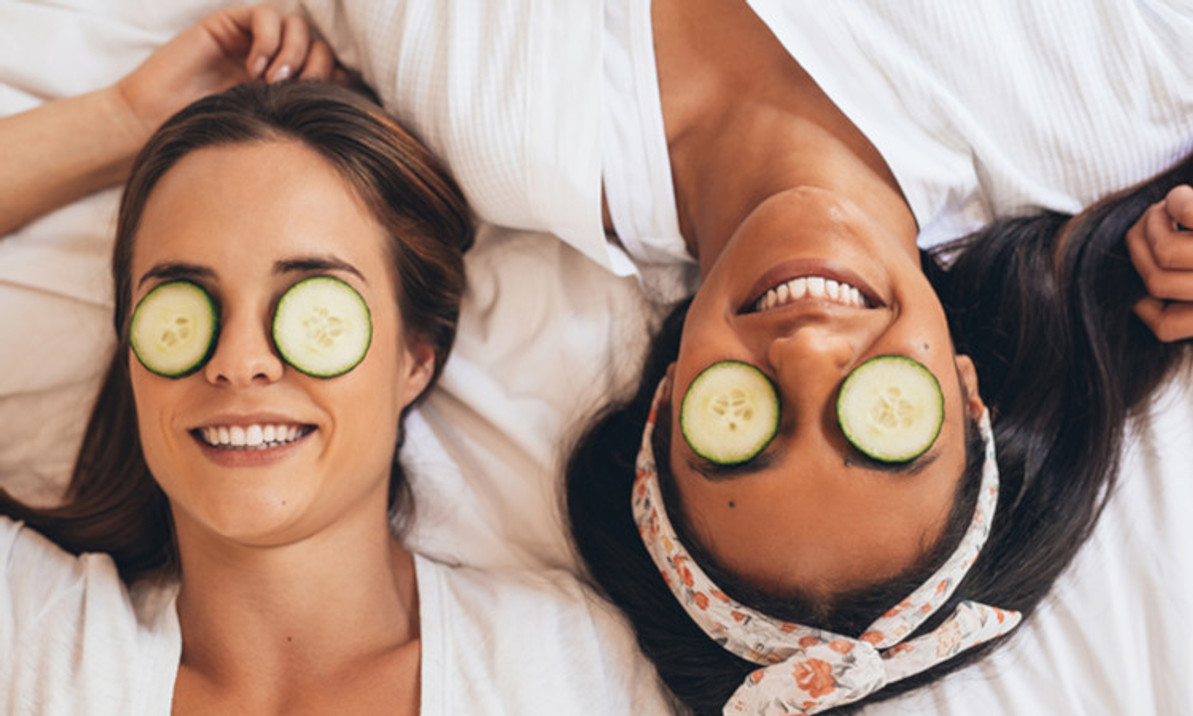
The pandemic has changed how we do things. Many think getting a facial is not essential, but for a gal like me, it was. With everything shut down, a professional facial wasn't possible. While staying home more often, I discovered that DIY facial was something that can be easily done at home to get glowing skin. A facial at home is the perfect beauty treatment for someone who doesn't have much time or money to spend on themselves. You can achieve spa-quality facial that is easy and cheap, but still provides many benefits!
Benefits Of At Home Facial
A home facial is inexpensive. It can be done with products that you already have. It can also save you a lot of time by doing it yourself. In addition to saving money and time, the benefits to your skin are numerous: they remove dead skin cells, unclog pores, reduce oil production and brighten your complexion, and target specific skin concerns. They also increase collagen production, which helps diminish wrinkles and fine lines. In addition, the multistep facial treatment cleanses your skin, stimulates skin cells, and hydrates and nourishes, giving you younger-looking, radiant skin.
Home Facial: A Step By Step Guide
Step 1: Cleanse
It is essential to have properly cleansed skin before your facial routine. The double cleanse method is the best to thoroughly cleanse the skin. First, wash the face to remove any dirt, makeup, or product buildup. Next, use cleansing wipes to rid the skin of any makeup residue. Follow with an oil-based cleanser which will remove excess oil and oil-based product residue. Lastly, use a water-based cleanser that will get rid of any pore-clogging dirt that remains. Whether you have dry skin, oily skin, acne-prone skin, delicate skin or sensitive skin types, choosing the correct facial cleanser jump starts the at home facial on the right foot.
Step 2: Exfoliate Dead Skin Cells
Exfoliating the skin will help remove dead skin cells, polish the skin, make it brighter, and improve the effectiveness of topical skincare products by enhancing absorption. Regular exfoliation can also help remove blackheads and prevent clogged pores, resulting in fewer breakouts. Exfoliation helps open your pores and smooth the skin's texture.
The exfoliation process can include chemical exfoliants, enzyme based powder, or manual exfoliants.
Step 3: Facial Massage
Massaging the face relieves tension, boost blood circulation, and tones muscle, which keeps skin firm and bright. In addition, massaging the face regularly will have anti-aging effects because increased oxygen flow to the area stimulates collagen production. Apply cream to the forehead, temples, sides of the nose, cheeks, and around the lips, chin, jawline, and neck and gently massage with your hands in a circular motion or a jade roller. Wash your face with water after good 10 minutes of massage time. Facial massages can also help with lymphatic drainage to reduce puffiness.
Step 4: Steam
Steaming the face opens up your pores and helps loosen any buildup of dirt for a deeper cleanse. It also increases the permeability making skin absorbent to any topical creams or serums applied afterward. Boil water in a pot and take it off the stove. Lean over the hot water and steam for 5-10 minutes with a towel covering your head, ensuring the heat is trapped and the skin gets the steam. Take the towel off now and then if you need air.
Step 5: Mask
Using a mask help hydrate skin, remove excess oils and impurities, and improve the appearance of pores. It nourishes better because it is kept longer in contact with your skin allowing ingredients to penetrate. Masks come in different forms, such as gel, cream, or clay mask. A sheet mask infused with nutrients and detoxifying ingredients has also become a popular alternative. The one you use depends on your skin type and what you're trying to achieve.
Step 6: Toner
A toner helps to remove any last traces of dirt, grime, and impurities stuck in your pores after using the face mask. It also helps to restore the skin's pH levels and balance the skin. This process also tightens pores to smooth and refine the skin. Alcohol based toners tend to dry skin out so those with oilier skin may benefit from toners.
Step 7: Moisturize
This last step replenishes the skin's oils and helps to retain and seal in the moisture it lost. Moisturizing the skin can also help with reducing the appearance of fine lines and wrinkles and balance the skin's natural oil production. Apply the moisturizer by gently massaging the cream onto the face and neck and letting it absorb into the skin.
Recent Posts
-
The Best Face Sunscreen Protection
The Best Face Sunscreen Protection: Top Picks for Every Skin Type Summer is just around the corner! …Mar 10th 2025 -
How To Minimize Large Pores
How To Minimize Large Pores Having large pores isn't necessarily a bad thing. Many associate large p …Mar 4th 2025 -
The Best Lip Mask for Chapped, Dry Lips
The Best Lip Mask for Chapped, Dry Lips If you've ever suffered from dry, chapped lips, you'll under …Feb 28th 2025


